December 21, 2019
Snowman Gift Bags for Kids to Make by The Savy Age

Snowman gift bags by The Savy Age
Source: The Savy Age
The Savy Age teaches us how to make Snowman gift bags, a fun and easy winter craft for all ages.
Note: Affiliate links may be used in this post. As an Amazon Associate I earn from qualifying purchases. Read the full disclosure policy here.
Snowman Gift Bags are a festive Dollar Store paper craft for kids to make and enjoy! Snowman winter crafts are just darn fun and make the perfect, easy craft for kids to make– whether it be as a Christmas craft or winter craft.
Dollar Store Christmas Craft
These gift bags can be made with craft supplies from the dollar store! My favorite dollar store carries the same crafts from the big box store, which is so helpful for affordable crafting.
Materials
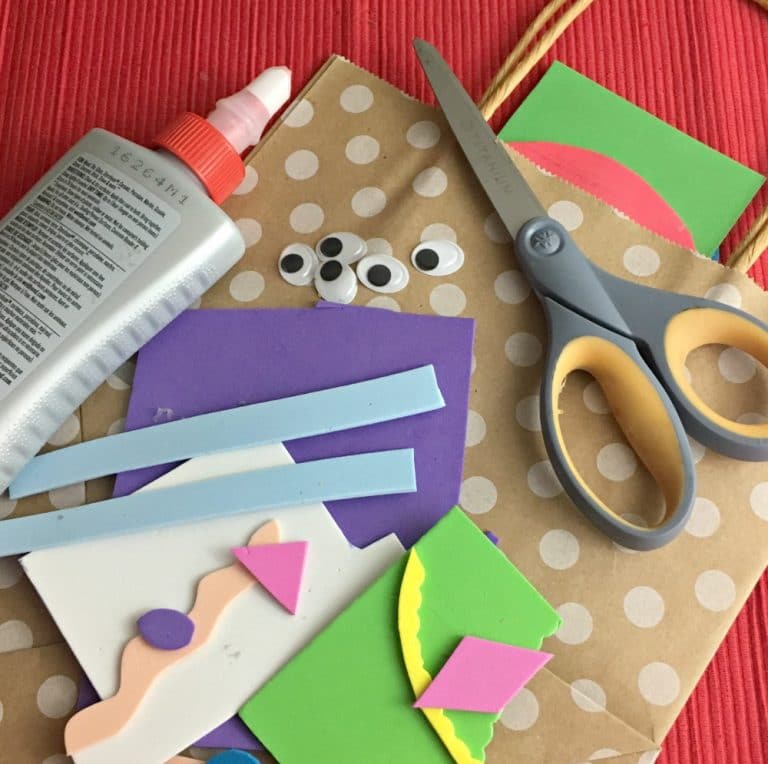
Gift bags, foam paper, scissors, and other supplies needed to create the snowman gift bags
Source: The Savy Age
- Foam paper assorted colors (Or scraps of foam paper from the “use it later” craft stash)
- Glue
- Scissors
- Googly Eyes, two per bag
- Medium Gift Bags (I used 8″ X 4.75″)
My Favorite Crafting Glue
I highly recommend Weldbond Glue for crafting. This is the strongest glue and will adhere to everything from paper, glass, metals and even the kitchen table leg!
I have used Weldbond for all The Savvy Age crafts and DIY. It is my go-to tried and true glue.
How to Make Snowman Gift Bags
I used a stack of medium gift bags I found at the dollar store. The medium-sized gift bag is 8-in by 4.75-in, which is the standard medium gift bag size.
If the gift bag is not flat already, flatten the gift bag.
First, print the snowman and hat cut-out template, then decide upon the colors of the snowman and hat.
Next, trace or cut out and trace the three circles which make the body, middle, and head of the snowman.
Then along the bottom of the front of the gift bag, center and glue the largest circle.
Center the second largest circle on the top of the largest circle approximately 1-in down from the top of the large bottom circle. Repeat for the top (head) circle, gluing the top circle on the middle circle with the bottom of the top circle approximately 1-in down from the top of the middle circle.
However, the placing of the circles does not need to be exact! Depending upon the age of the crafter, let the crafter decide the placement.
Afterward, trace the hat template on the foam paper and cut it out. The top of the hat will be centered between the handles.
Then, glue the brim of the hat onto the top/head of the snowman.
Now glue two googly eyes on the face of the snowman. I used googly eyes from the craft closet, so I had a variety of sizes and types.
How To Make Snowman Buttons, Scarf, Hat Decorations
This is totally up to the crafter, but freehand cutting of buttons, abstract hat decorations, and the scarf worked best!
If a precise crafter is making the snowman, then all of the above can be traced and cut out from the foam paper.
Glue the scarf first, then the buttons on the middle of the snowman.
Afterward, add decorations to the brim of the hat.
Mix and Match Snowman Gift Bags
These gift bags were made from one pack of foam paper from the dollar store, plus the remnants of foam paper from other crafts I had stashed away for the “I May Use It Later” file.
A variety of snowman gift bags created by The Savy Age
Source: The Savy Age
This is a very flexible and forgiving craft, which makes it a very enjoyable winter craft for kids, toddlers, and littles.
Any color combination works! I love foam paper because it is easy to cut and easy to glue. Heavy cardboard or cardstock could also be used for this snowman craft.
Additional Snowman Crafts
Head on over to The Savy Age for Christmas crafts and more!
Interested in having content featured in an upcoming blog post or issue of The Burgundy Zine? Head on over to the submissions page!
For all other inquiries, please fulfill a contact form.


