December 19, 2018
DIY Cutest Handmade Greeting Cards


By: burgundy bug

Christmas Envelope
Source: Card Making Sesh 02 | Penelope Peru Photography P³
Whether you’ve got a knack for arts and crafts or not, handcrafting the cutest greeting cards really boils down to your supplies and the amount of time you’re willing to put in. Seasoned crafters could probably knock out a few in an hour, where beginners may spend 30 minutes on one card before going on a Netflix binge for the rest of the afternoon.
Either way, creating your own cards is a great way to unwind on a free afternoon. Plus, the end result is something so unique and meaningful. Even those of us who can barely manage to draw a stick figure will end up with a card that someone will appreciate, if only as an A for effort.
DIY Cutest Handmade Greeting Cards

Googly Eyed Envelopes
Source: Card Making Sesh | Penelope Peru Photography P³
I swear marathoning hours and hours of installments in Nintendo‘s Animal Crossing series really played a hand in sculpting who I am as a person. I’m fascinated by nature, I love to garden, I only browse Instagram to look at cute pictures of butterflies, and I spend all of my time making cards or little gifts for my friends.
Materials

Materials
Source: Card Making Sesh 02 | Penelope Peru Photography P³
Again, knocking these handmade cards out of the park really boils down to what you’re working with.
For this tutorial, I recommend stocking up on the following supplies:
- Blank Greeting Cards (and envelopes!)
- Pens, Colored Pencils, or Markers
- Decorative Tape (also known as Washi Tape)
- Glue sticks
- A Printer (and ink!)
- Photo Paper and photographs
- Stickers
All of these supplies can be found on Amazon or your local craft store.

Materials
Source: Card Making Sesh 02 | Penelope Peru Photography P³
Personally? I am using:
- Best Paper Greeting‘s 6 Colorful Modern Cards
- TAMNIT‘s 48 Bullet Journal Fineliner Pens
- Recollection’s Box of 45 Washi Crafting Tape (and other washi tape gifted to me by the delightful Karlie-Rae)
- Elmer’s Washable Glue Stick (Re-Stick for photo purposes)
- Kodak ESP Office 2170
- Kodak Photo Paper to print pictures from the Penelope Peru Photography P³ website
- P³ StickEz stickers
Feel free to exclude or include any supplies your heart desires.

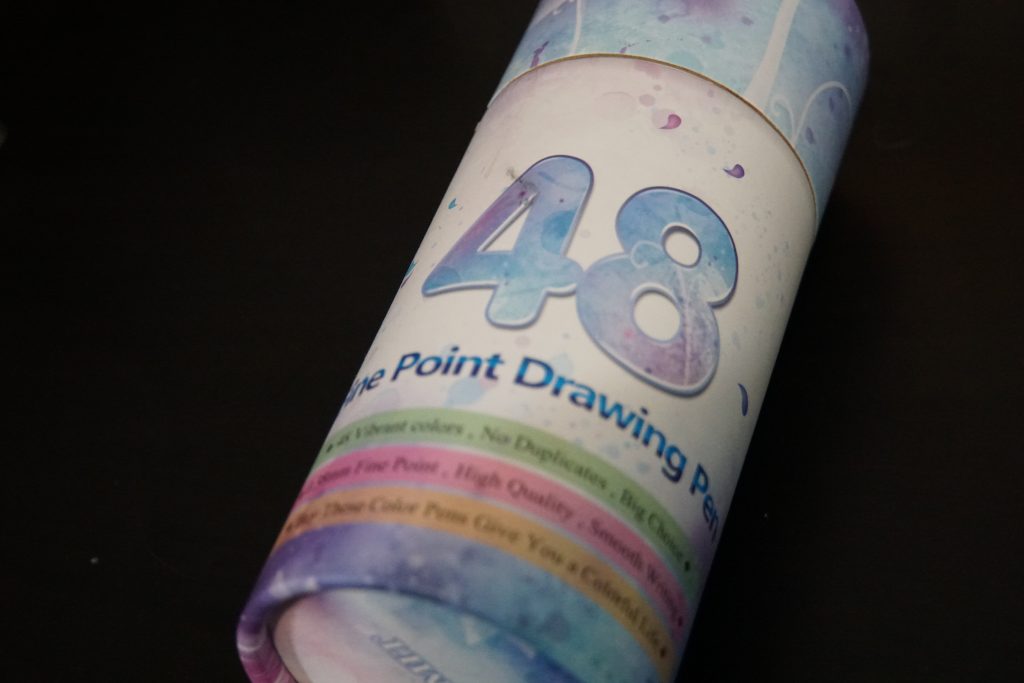


Blank greeting cards, 48 fineliner pens, 45 rolls of decorative tape, Elmer’s Restick Gluesticks, and Stickers
Source: Card Making Sesh 02 | Penelope Peru Photography P³
Stick to mediums your most comfortable writing in for the most legible results. Whether it’s pencil, pen, paint, or markers, just pick your poison!
I’ve always preferred pens, especially those 0.7 gel pens you can swoop up from the Dollar Store. However, I recommend my fellow pen pals out there spring a few bucks on a decent variety of fine-line pens specifically for journaling or crafting.
Decorating the Greeting Card
You can decorate your card however you please. The more of your own spin you put on this process, the more personable your card will look.
The following steps are simply how I decorate my greeting cards.

Blank greeting card and envelope
Source: Card Making Sesh 02 | Penelope Peru Photography P³
After selecting a blank card and envelope, I begin lining the edges with whichever decorative tape is the least opaque.

Greeting card after lining the top and bottom edges with decorative tape
Source: Card Making Sesh 02 | Penelope Peru Photography P³
In this case, the black and red rose decorative tape was a bit more transparent than either of the green tapes I am using to line the vertical sides of the card.
I will also select tape based on how much I plan on writing in the card itself.
Generally, I’ll either select small, medium, or a mix of both to line the outer and inner sides of the card.
I typically lean towards wider tape to line the top and bottom edges of the card.


Greeting card, completely lined in decorative tape
Source: Card Making Sesh 02 | Penelope Peru Photography P³
Christmas is less than a week away as I am writing this tutorial. Thus, I’m going for more of a holiday theme.
However, these handmade cards are great for any time of the year. I’ve been known to make them for other major holidays and events, including birthdays, graduations, baby showers, and as part of thank you gifts.


Previous greeting cards
Source: Card Making Sesh | Penelope Peru Photography P³
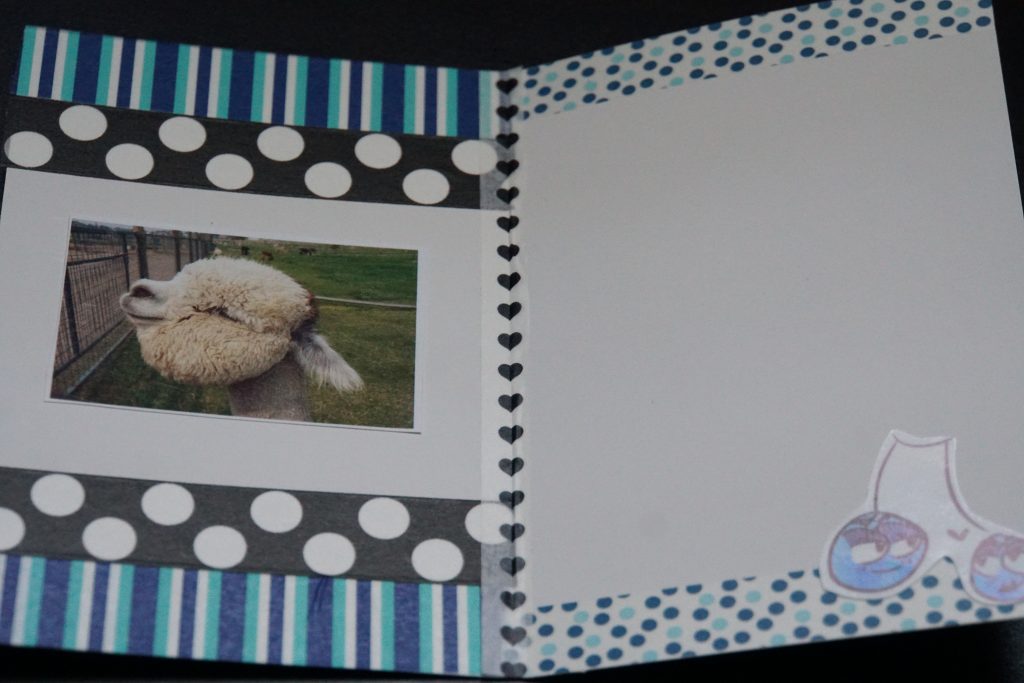
Next, I glue an image on to the left side of the card. If the card is horizontal, than I will glue it on the top half.
After carefully wiping any excess glue from the edges of the photography, I’ll place the card under a weight (you could use a book, a stone, etc…) and decorate the envelope while I wait for it to dry.

Envelope lined in decorative tape
Source: Card Making Sesh 02 | Penelope Peru Photography P³
I only line the top and bottom edges of the envelopes with decorative tape.
Again, I’ll base the size of the decorative tape on how much I plan to write or draw on the back of the envelope.
If I have a good enough idea of what the recipient looks like (or if I’ve got a photograph of them in front of my face, I’ll typically draw a portrait of them next to their name.
However, in the event that I’m unsure of what the recipient looks like (as that is often the case while I’m making thank you cards addressed to my Etsy customers), I’ll fill the majority of the envelope in decorative tape and simply write their name in a strip of free space.

Decorated envelope
Source: Card Making Sesh 02 | Penelope Peru Photography P³
By this point, the photograph inside of the card should be all finished drying. Fill in the card with your special message and adorn the front with a sticker of your choice!


Snowman greeting card
Source: Card Making Sesh 02 | Penelope Peru Photography P³
If you decided to take up card making, if only for an afternoon or two, I’d love to see pictures! You can submit a link to the photograph through The Burgundy Zine‘s submission page, or tag The Burgundy Zine on Twitter and Instagram!
Interested in having content featured in an upcoming blog post or issue of The Burgundy Zine? Head on over to the submissions page!
For all other inquiries, please fulfill a contact form.
burgundy bug
https://burgundyzine.com/about/#burgundybugA cynical optimist and mad scientist undercover, burgundy bug is the editor, graphic designer, webmaster, social media manager, and primary photographer for The Burgundy Zine. Entangled in a web of curiosity, burgundy bug’s work embodies a wide variety of topics including: neuroscience, psychology, ecology, biology, cannabis, reviews, fashion, entertainment, and politics. You can learn more about working with burgundy bug by visiting her portfolio website: burgundybug.com
View more posts from this author