December 15, 2019
DIY Stickers for Beginners

By: burgundy bug

Glossy grape stickers by burgundy bug
Source: Stickers | Penelope Peru Photography
Who doesn’t love stickers? You can stick ’em on your laptop, or stick ’em on your walls, journals, binders, folders, scrapbooks, or stick ’em on your friends.
And with the ability to create your own stickers, you’ll never have to worry about running out!
** Note: This post contains affiliate links to the products mentioned.
DIY Sticker Materials
Printing your own stickers from home is a far less daunting task than it may seem. All you need is:
- A printer
- A computer (or a phone, if you’re tech-savy enough to layout your stickers on a 5.5-in screen)
- Sticker paper (we recommend glossy)
- Scissors (we recommend a large pair as well as a small pair to get into the nooks and crannies of more complicated designs)
Step One: Pick Your Designs

Colorful penguin heads by burgundy bug
Source: Stickers | Penelope Peru Photography
After you’ve purchased your sticker paper, begin brainstorming what designs you’d like to print.
Your options are endless, from animals to candy, to stickers of your favorite cartoon characters.
Remember: Your sticker paper is white (unless you opted for transparent sticker paper), so the designs you select don’t necessarily have to be transparent.
It helps to select transparent images so you don’t have to worry about the backgrounds overlapping with the other images while laying out the sticker sheet on your computer, but it’s not the end of the world if your images have a background so long as its the same color as your sticker paper (white).
If you’d like to create your own designs, you can use your digital art or scan art you’ve done on paper to your computer.
Scanning your art may white-wash it a bit, so it’s important to make sure your artwork is inked for it to show up.
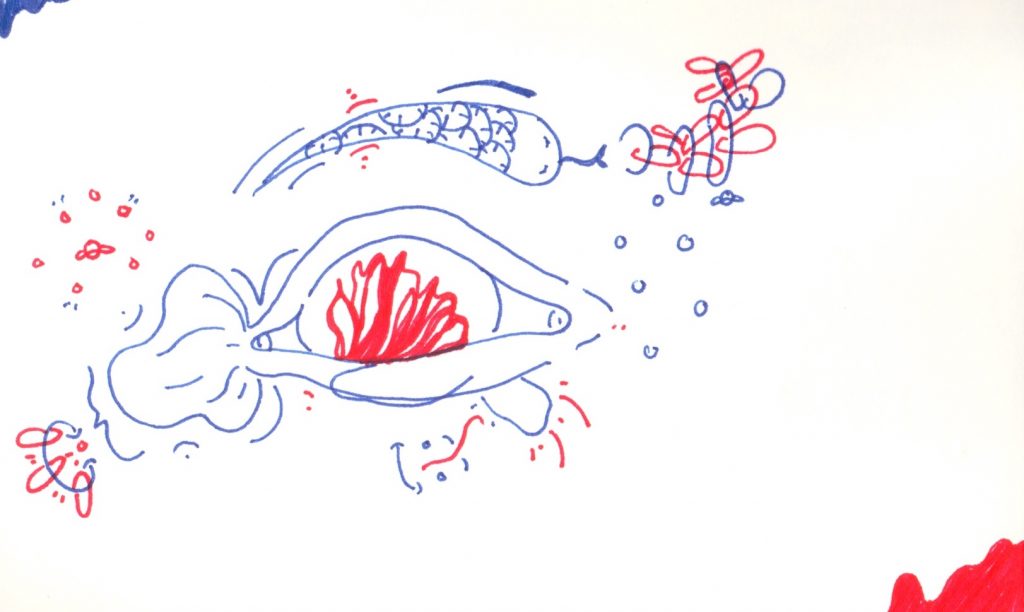
Scanned artwork by burgundy bug from December 2017
Source: Sketchbook Tour | Penelope Peru Photography
Additionally, you can use software like PicMonkey, GIMP, or Photoshop to adjust the lighting/exposure to enhance the clarity of your scan.
Step Two: Layout Your Designs

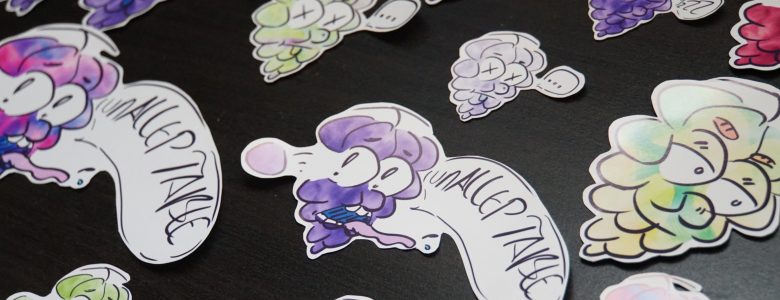
Drooling frogs by burgundy bug, laid out for printing in small and medium sizes
Source: Stickers | Penelope Peru Photography
Once you have your designs selected, it’s time to begin laying them out.
You can use any software you feel comfortable laying your images out in, whether it’s Preview (comes with Mac), Microsoft Paint, Microsoft Word, TextEdit, Photoshop, or Indesign.
First, make sure your canvas (or document) is 8.5-in by 11-in. This is the standard size of a piece of paper, so your stickers will print true to how they’ve been laid out.
From here on out, we’ll call this canvas/document your sticker workspace.
If you want to be specific about your sizes, resize your images before pasting them into your sticker workspace.
We recommend printing stickers that are roughly:
- 1-in by 1-in (very small)
- 2-in by 2-in (small/medium)
- 3-in by 3-in (medium)
- 4-in by 4-in (large)
But go wild with it! If you’d like, you can print one sticker that takes up the entire page. These are your stickers, after all.
We also recommend printing your designs in a variety of sizes. If you’re particularly fond of a design, you can put it in the sticker workspace multiple times at multiple sizes.
Or, you can print entire sheets of that design in a specific size. For example, an entire sheet of small and medium panda bear heads, and an entire sheet of large panda bear heads.

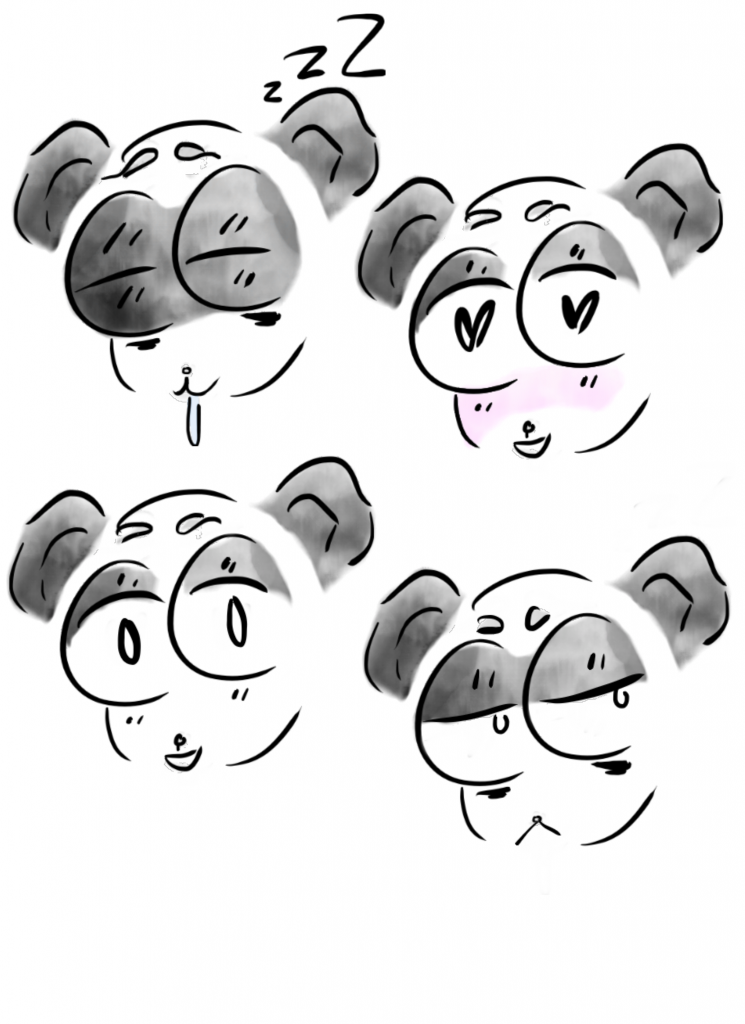
A sticker sheet of small and medium sized panda bear heads v.s. large sized panda bear heads by burgundy bug
Source: Stickers | Penelope Peru Photography
After you’ve laid out your designs, be sure to save your sticker workspace. This will save you the heartache of losing your hard work AND it’ll allow you to reuse this sticker sheet in the future.
Step Three: Print Your Designs
Before printing your stickers, make sure you’ve loaded sticker paper into the printer.
However, you can also do a trial run by printing your stickers onto a plain piece of computer paper to make sure all of the stickers are the right sizes before printing on the fancy-schmancy sticker paper.
Step Four: Cut Out Your Stickers

“Hot Dog Dog” stickers by burgundy bug
Source: Stickers | Penelope Peru Photography
Now it’s time to cut out your stickers. To make this process a bit easier, cut your stickers into strips and then cut them into individual squares.
Cutting the stickers into individual squares will make it easier to rotate the sticker as you cut it. Rotating the sticker while you cut will allow for smooth edges.
While you could cut them out without leaving a border, this opens up room for error – especially if your scissor skills are subpar to a Kindergarteners’.
We recommend leaving a decent amount of border, especially if it’s your first time making stickers.
Remember: you can always snip away at the border of your stickers, but you can’t add back what you’ve already cut off.
For designs that require a bit more precision, whip out your small scissors to get into the complex corners and curves.
Step Five: Package or Peel and Enjoy
And, you’re done! You can either package your stickers in an envelope or DIY card to give to your loved ones, or you can peel off the backs and begin sticking them on everything.
Note: Even if your sticker paper is perforated on the back, peeling off the back can be a bit tricky. Start at a corner and delicately peel off the back by wedging your nail between the back and the adhesive.
You’ll get the hang of it after a while.

A close up of a shocked lime sticker by burgundy bug
Source: Stickers | Penelope Peru Photography
In Conclusion
Making your own stickers can be liberating. Gone are the days of saving your favorite stickers for that special journal or page in your scrapbook because you can reprint your designs over and over and over – or, at least until you run out of sticker paper and/or printer ink (which can always be restocked).
Not only can you enjoy the fruits of your labor, you could sell your stickers online (so long as the designs are your own original artwork), or you could gift them to all of your friends and family.
Read: DIY Gifts for Kids
The Burgundy Zine
If you give our sticker making tutorial a try, we’d love to see what you create! Feel free to send us a link to your stickers through our contact page or tag us on Instagram and Twitter.
Interested in having content featured in an upcoming blog post or issue of The Burgundy Zine? Head on over to the submissions page!
For all other inquiries, please fulfill a contact form.
burgundy bug
https://burgundyzine.com/about/#burgundybugA cynical optimist and mad scientist undercover, burgundy bug is the editor, graphic designer, webmaster, social media manager, and primary photographer for The Burgundy Zine. Entangled in a web of curiosity, burgundy bug’s work embodies a wide variety of topics including: neuroscience, psychology, ecology, biology, cannabis, reviews, fashion, entertainment, and politics. You can learn more about working with burgundy bug by visiting her portfolio website: burgundybug.com
View more posts from this author